Removing or replacing the main board in the TEO 5 is easy and only requires a couple basic hand tools.
Tools needed: Phillips head screwdriver and a 9/16" socket/nut driver (pliers will work too).
Getting inside the TEO 5:
1. First, unplug all power/MIDI/USB/audio cables.
2. The audio and pedal jacks on the rear of the TEO 5 are held in place with nuts and washers. Using a 9/16″ socket/nut driver or a pair of pliers, remove all 5 nuts. The washers will come off by hand once the nuts have been removed.
3. Flip the TEO 5 upside down onto something soft, such as a strip of bubble wrap or a towel.
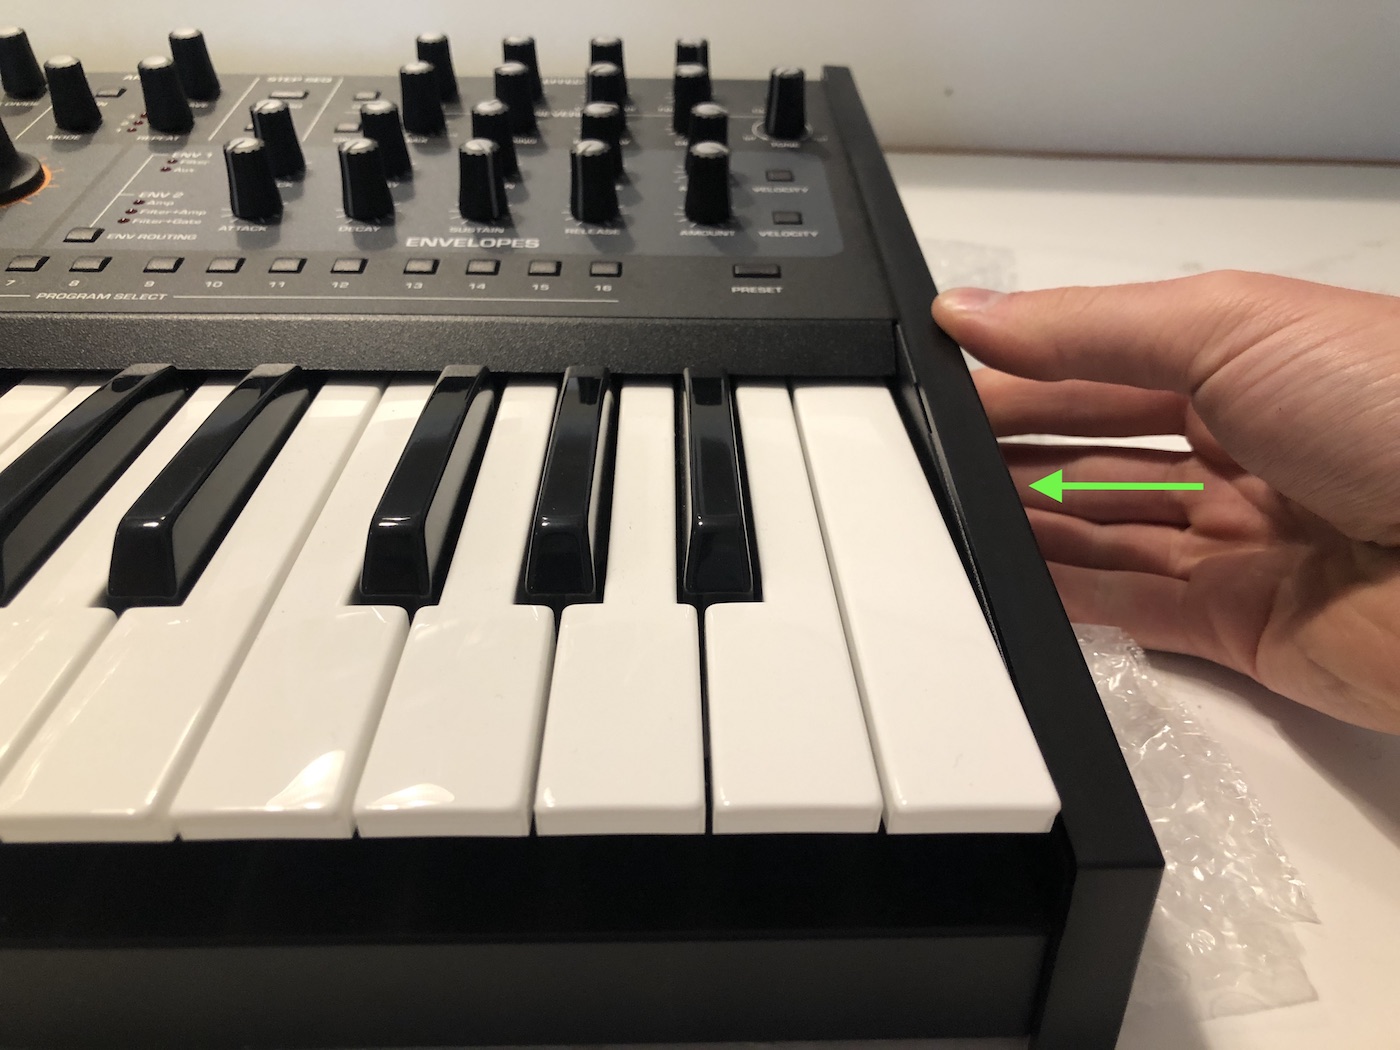
4. There are three screws on each side securing the plastic end caps to the bottom metalwork. Remove these screws and lift the sides up and out to free them.
5. Flip the unit back over into its normal position.
6. Remove the 5 screws along the upper back of the synth.
7. Lift up the top metalwork and place it behind the bottom metalwork, on something soft such as a strip of bubble wrap or a towel. Be careful not to stress the single ribbon cable that connects the top and bottom of the synth.
Removing the main board:
1. The Main PCB board is on the left side of the bottom tray.
2. The Main PCB board has 4 connections to it. Please follow the directions below for removing these cables.
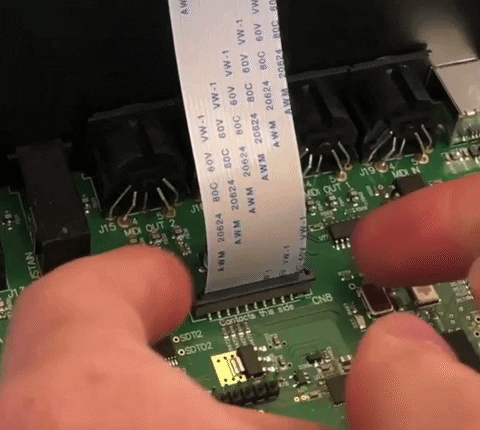
3. Start by locating the long ribbon cable that connects the main board to the panel boards. There is a thin, black locking tab on each connector that holds the ribbon cable in. The tab can be easily opened by gently lifting up on each end with your fingernails. The locking connectors don't come out completely, they are fully unlocked after moving ~3 millimeters. On the main board side only, gently lift the locking connector out of place and remove the ribbon cable. When reinstalling the ribbon cable, make sure the tabs are open, slide the cable back into the slot, then close the tabs when the ribbon is fully inserted.
4. On the upper right side of the main board is the power connector, it's a yellow vertical rectangle. Gripping the connector itself, pull straight up with a slight side to side wiggle to remove it. DO NOT pull on the wires.

5. There is one cable with a small red/orange connector coming from underneath the keybed. Take note of the orientation as it must be reinstalled in the same way. Grip the sides of the connector and pull up with a slight wiggle to remove the cable. DO NOT pull on the cable itself.
6. On the lower left of the main board there is one blue aftertouch connector. Remove this cable by pulling straight out on the blue tab of the connector.
7. Unscrew the 7 screws holding the Main PCB board to the enclosure. Slide the main board towards the keybed to free the audio jacks and tilt the main board towards you and remove it.
8. Install the replacement main board and follow the steps in reverse order.
Reinstalling the top panel and plastic sides:
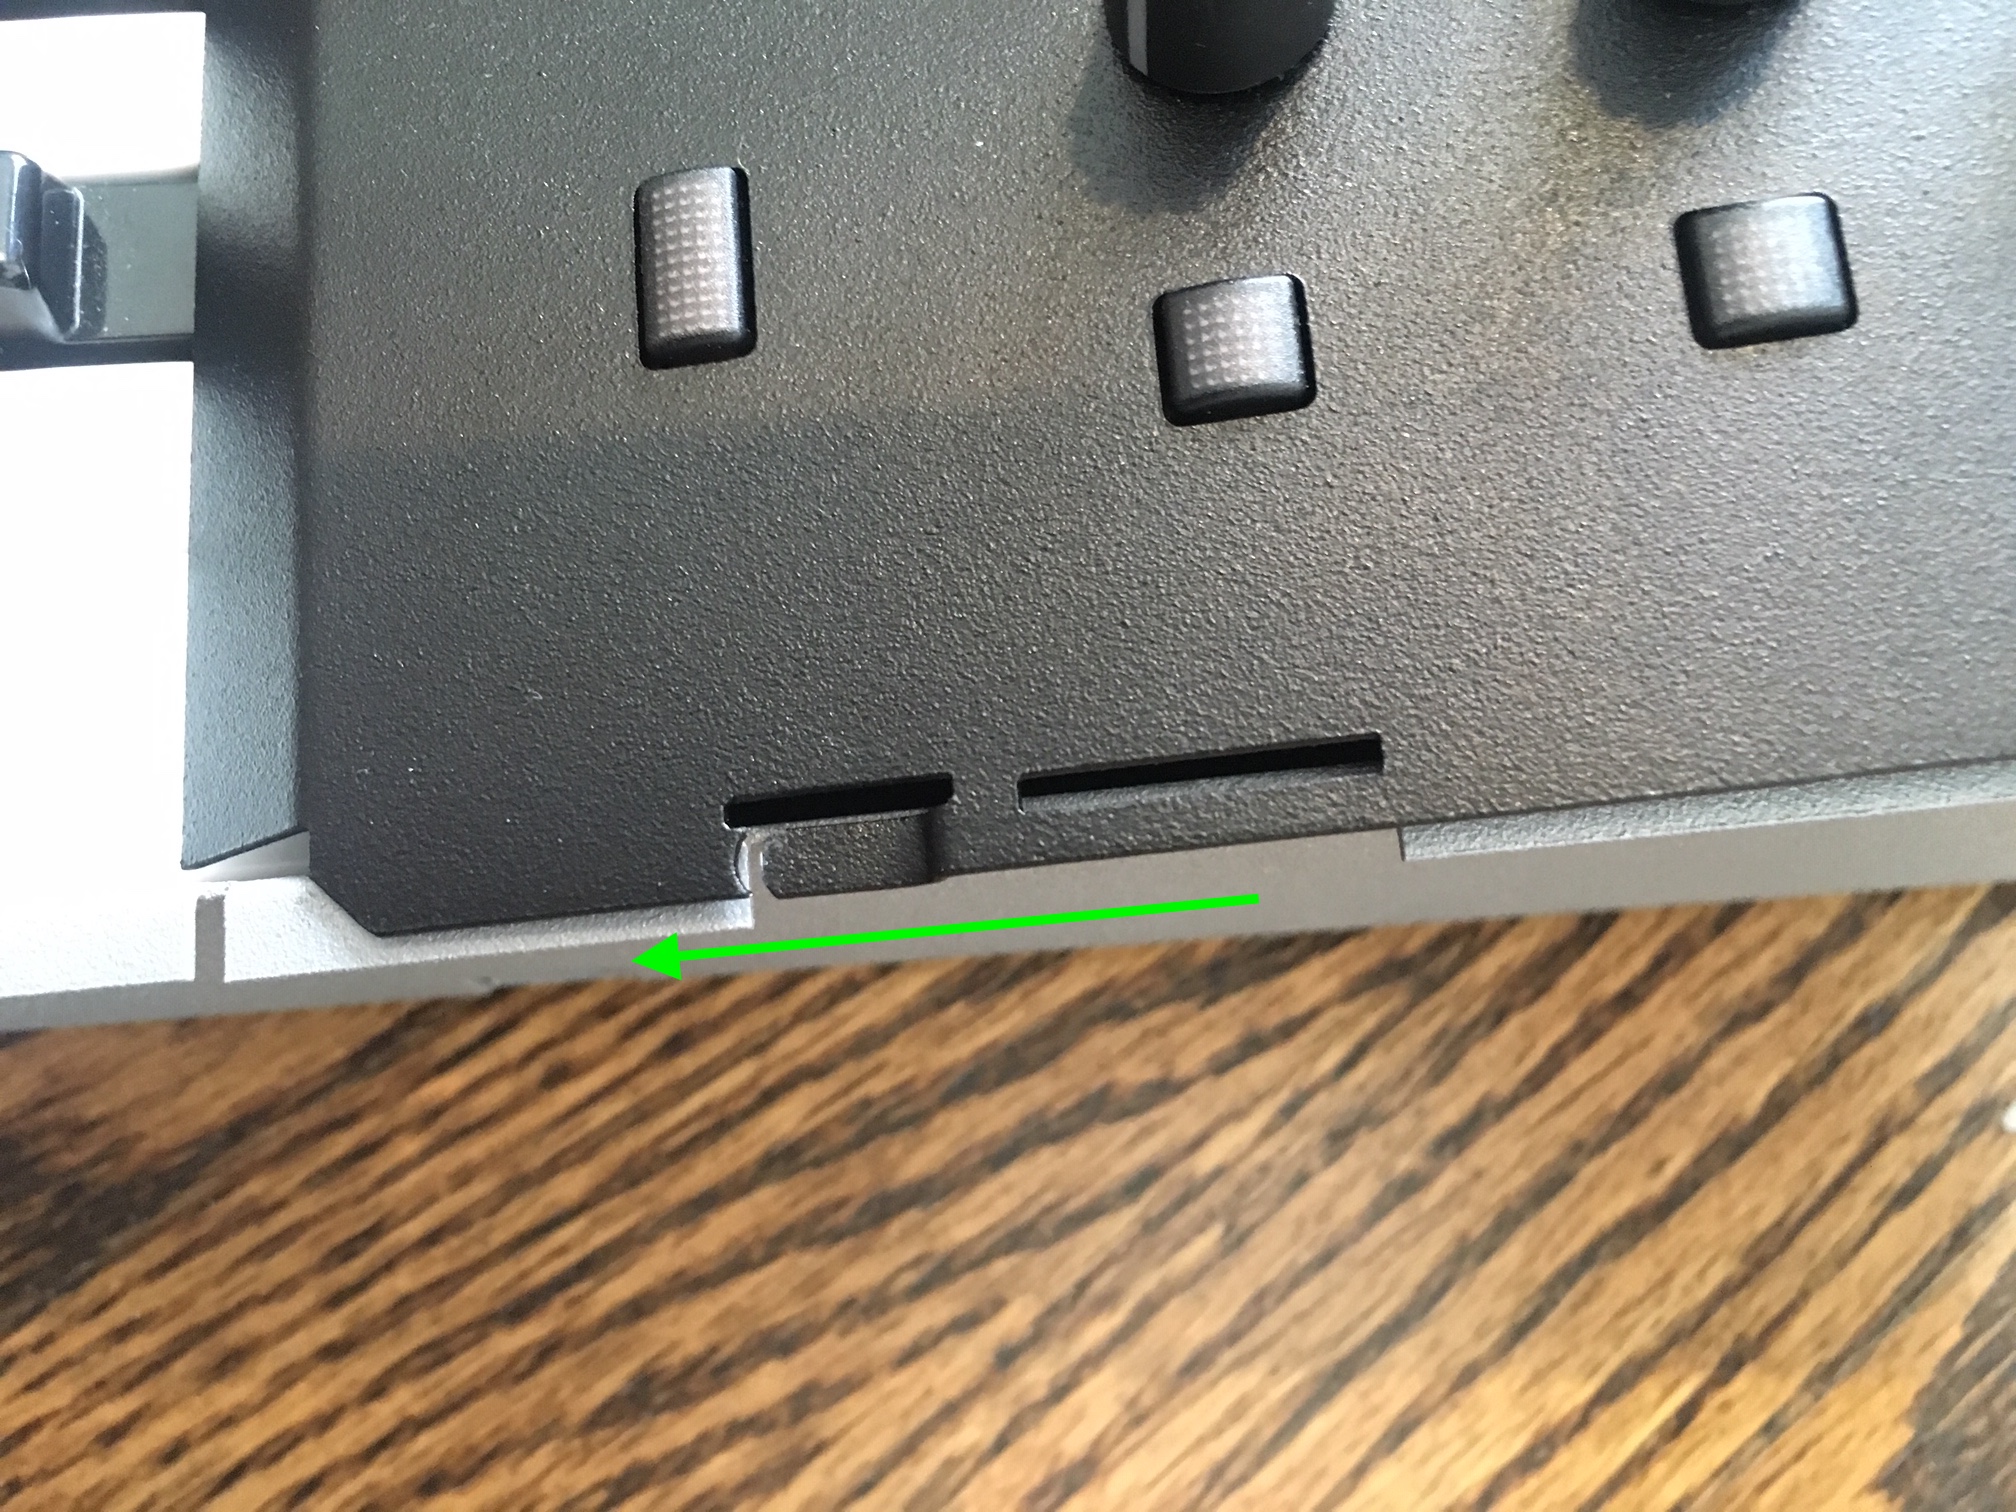
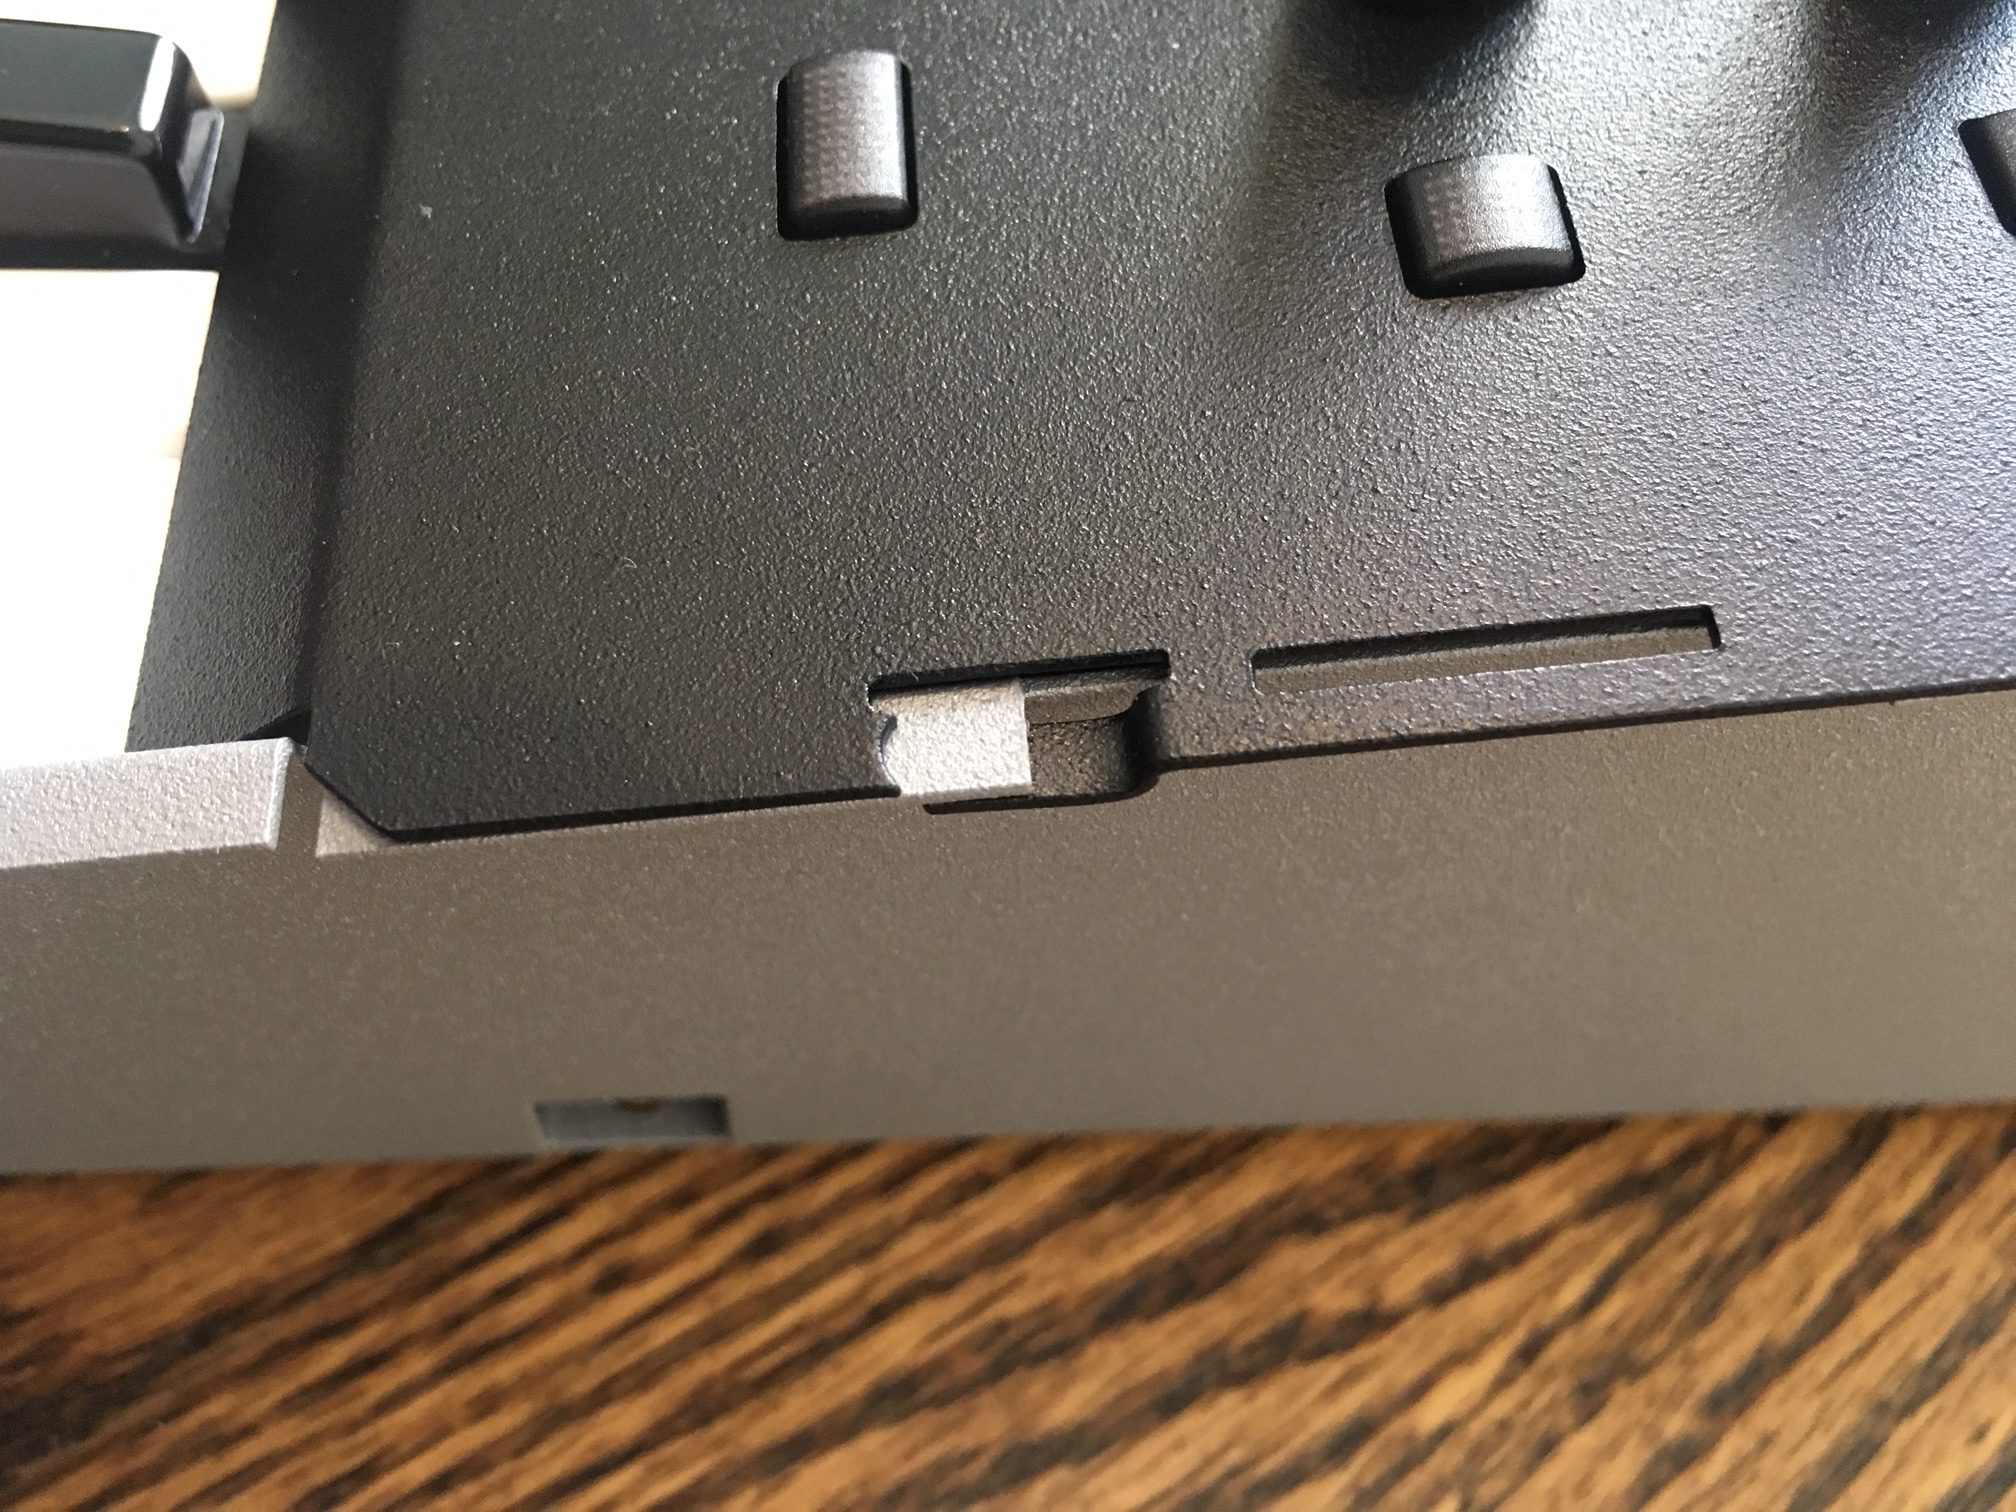
1. There is a small metal tab on each side of the Teo 5 that latches the top and bottom metal together.
2. Place the top metal panel onto the unit and line up the small tab with the cutout in the bottom metal. Slide the top panel down so the tab latches underneath the bottom metal.
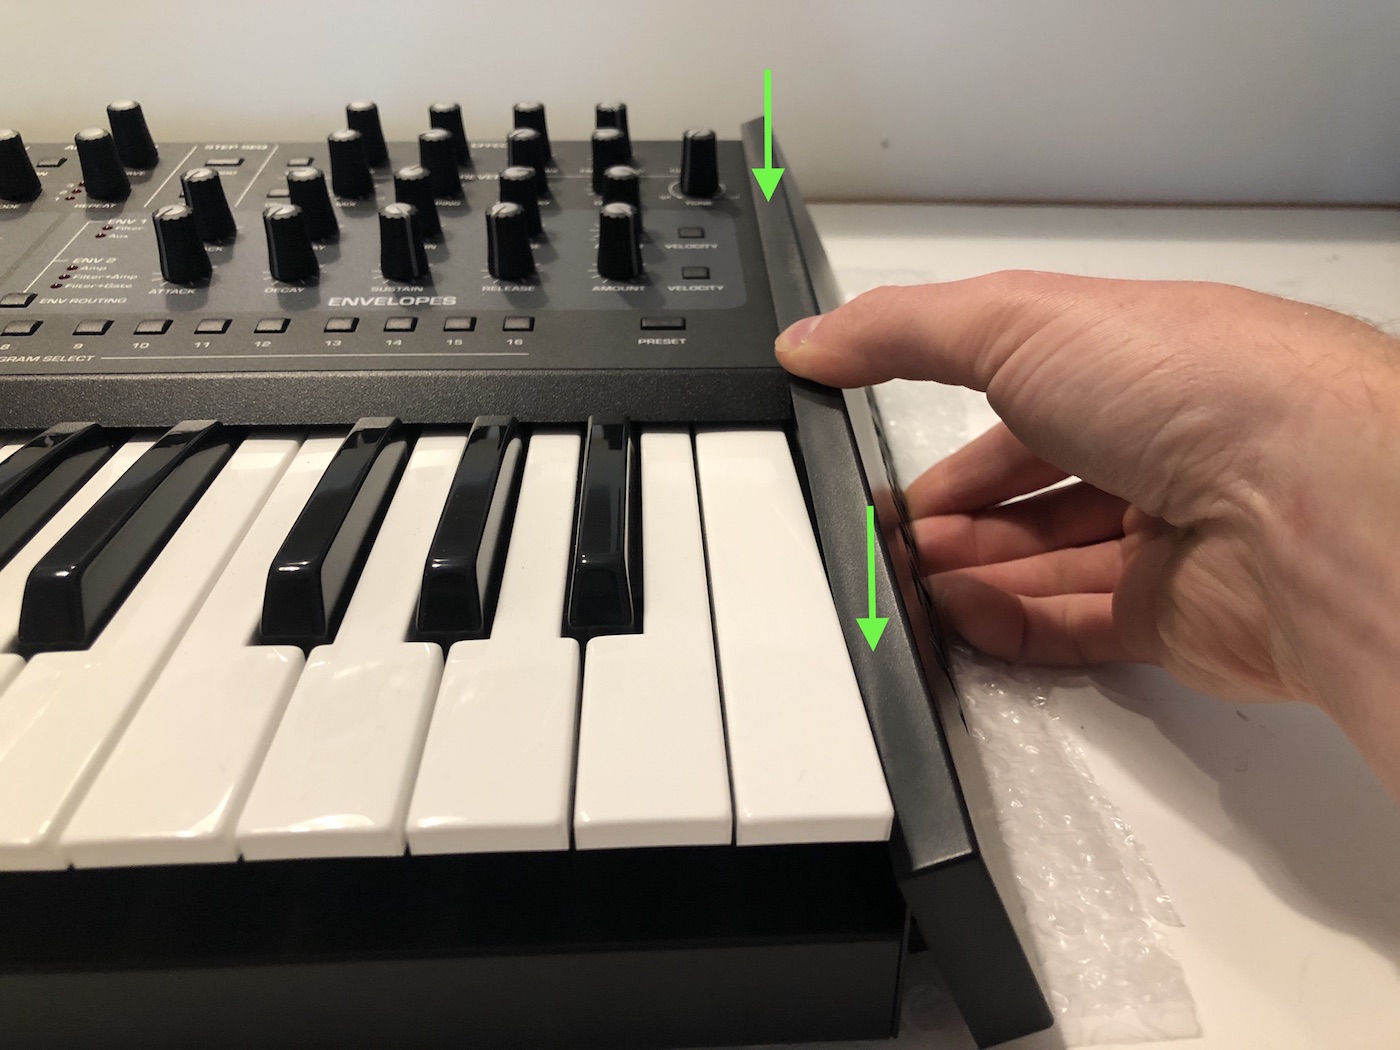
3. Each side panel has three lower screw slots and four upper plastic tabs.
4. Hook the upper plastic tabs into place at an angle, then push the lower screw slots into place. The side panels will click into place with a light amount of pressure.

5. While holding the side panels, flip the unit over onto something soft, like a strip of bubblewrap or a towel. Reinsert the three screws on each side to secure the plastic panels.
Please contact Oberheim Technical Support if you have any questions regarding this procedure.